We show you exactly what to do with your wooden board from cleaning, oiling, stain removal, re-surfacing through to sanitising so that it lasts you decades.
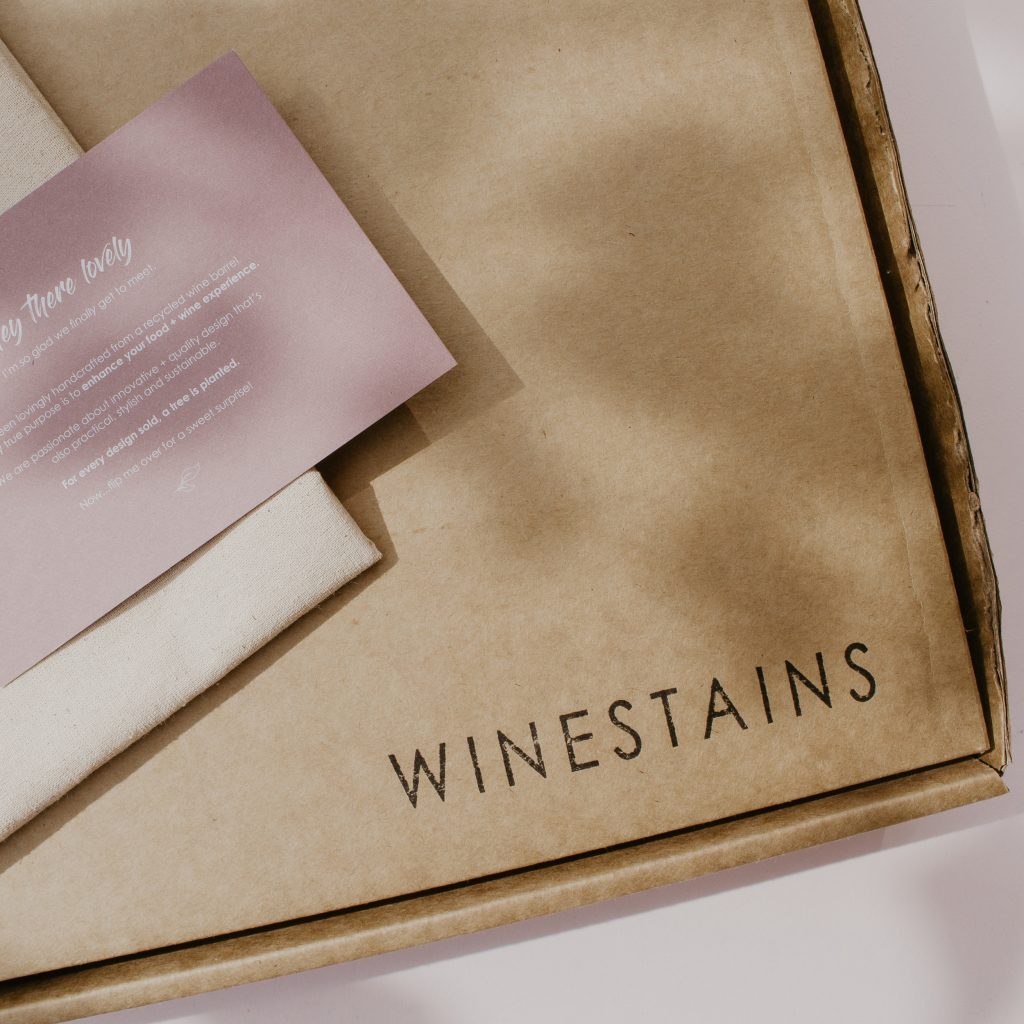
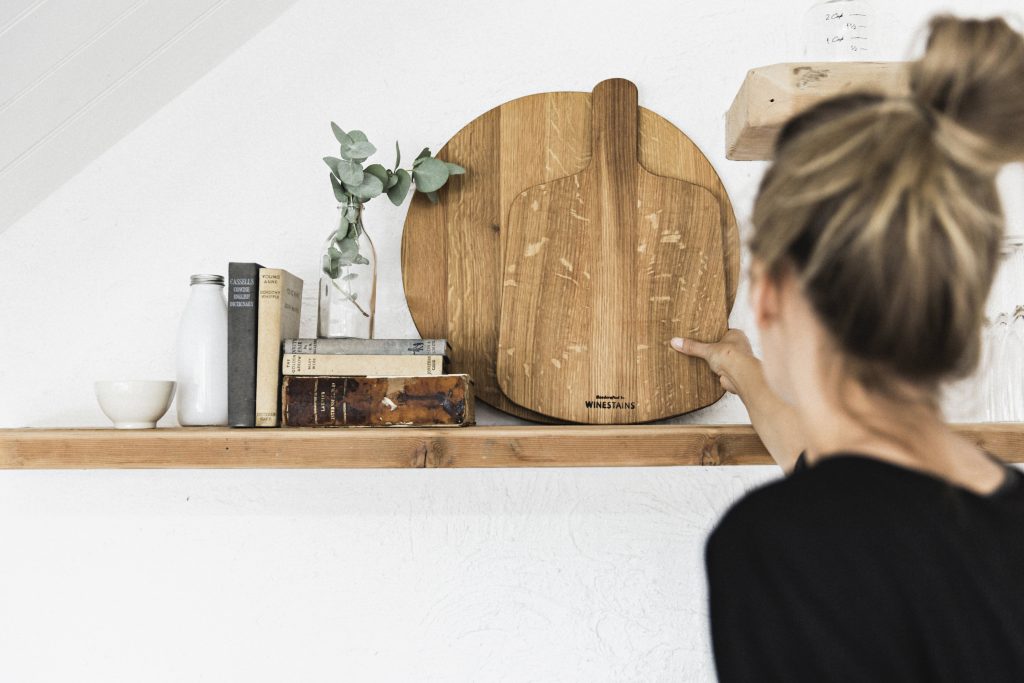
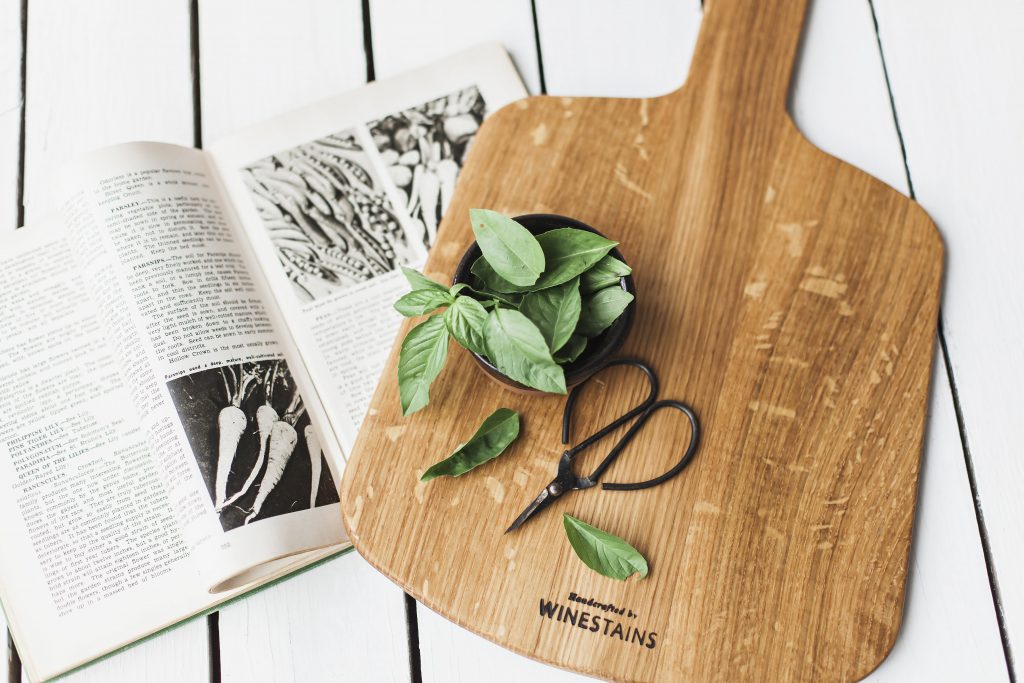
The best thing about wooden boards is that they have the ability to last you decades. They eliminate the need for plastic which contributes to more waste in this world and have a longer life-span. Winestains goes one step further with handcrafting wooden boards from recycled wine barrels, reducing waste within the wine industry and providing beautiful designs with a rich history and story behind them.
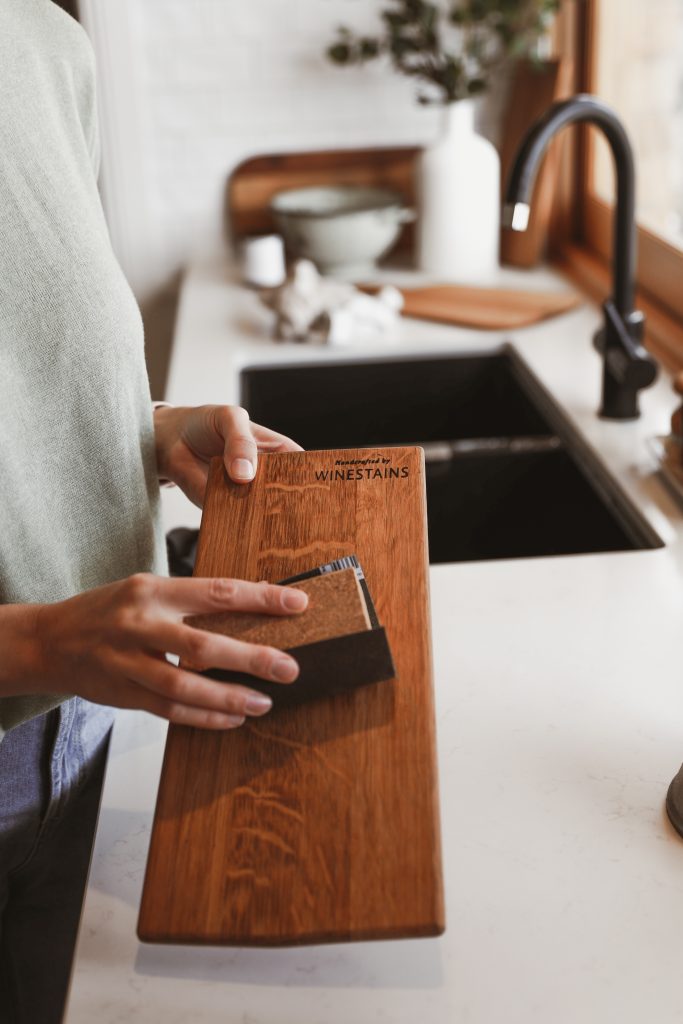
How to wash your wooden board
Firstly, never submerge your wooden board in water or place it in the dishwasher.
Wash both sides of your wooden board (this prevents the board from warping) with-dish soap and a cloth. You can check out our board care kits here. Let your board air dry completely by sitting it up-right on your kitchen bench. This helps with mould prevention.
Shop 10% off with code: BOARDCARE
How to sanitise your board
Another great way to clean and sanitise your wooden board is to use a vinegar solution. The ration we use is 1/4 vinegar to 3/4 water.
Place this solution into a spray bottle and pray the board all over. Let it air dry completely.
How to get rid of nasty smells
Whether you’re chopping on plastic or wood certain foods can leave a few curious smells. Especially if you cut a lot of garlic.
Try this…Cut a lemon in half and generously rub it all over your wooden board, making sure you get lots of juice. Then spread heaps of kosher salt over the board (don’t be shy with the salt) because this is going to suck the smell out of the wood as it dries.
Sometimes, the juice of the lemon may not be enough so you can drizzle some water over the salt to help soak through. Continue rubbing the lemon over the board and the salt. Once you’re happy, leave the board with the salt and lemon on it to dry over night (or a few hours depending on the climate you live in)
Once the salt has dried completely, scrape the salt off (you can use a spatula to scrape it off) Wash your board as normal and let it air-dry completely ready to use again (odour free!)
How to get rid of tough stains
One food in particular that comes to mind in regards to getting tough stains out would be good old beetroot. The best thing for getting these stains out is to tip baking soda over the stain. Add a little water over the top to make a paste and use a cloth to scrub it (until you see the stain lifting) Wash your board as normal and leave it to air dry completely. You can then re-oil your board.
When, why and how to oil your wooden board
The reason we oil our wooden board is to keep it conditioned so that it doesn’t split or crack. There is no specific schedule for oiling and this will always differ depending on your climate. You can test if the board needs oiling by throwing a few droplets of water on it. If the board absorbs the water, then it’s time to oil it. If it beads a little, then you’re ok.
Best practice for oiling your board is to drizzle the oil onto your board and wipe it over with a cloth. We have a great board care kit here. Wipe the board all over, back, front and sides and then let it air dry completely by propping it up on your kitchen bench. Allowing the air to circulate.
Ideally you want to let it dry for a good couple of days before using it again (so maybe if you’re headed away for the weekend or going on holidays get into the habit of oiling your boards then)

Shop 10% off with code: BOARDCARE
How to get rid of deep cuts
Unlike a plastic board, you can easily re-surface a wooden board! You’ll know it’s time to re-surface your wooden board when it starts to catch on your wash-cloth or feels a little too rough for your liking.
Start with a medium grit sandpaper (around 100 is a good place to start) Always start with a courser grit sandpaper then move down to a finer grit from there. Cut your sandpaper and use a box or whatever you have lying around to wrap the sand paper around to assist with your sanding. Start hand-sanding in the direction of the grain until the cuts and rough parts start to feel smooth again.
This is one of the many benefits of a wooden board, being able to fix and repair them compared to a plastic one which you’d need to discard of at this point. After you’ve sanded it down, wash it, let it air dry completely and you can then re-oil your board.
How to fix a warped board
Boards can be warped for a few reason but the number 1 would be if they were submerged in water or placed in the dishwasher.
A way to help fix this issue is to grab your wooden board and sponge the concaved side (just the one side) then flip the board over and place a heavy weight on it that is evenly dispersed over the entire board. If the board is quite thick and heavy, you may get away with just flipping it over and letting gravity do its thing.
It may take a few goes at this, so keep repeating this until the board starts to level out.
All Winestains grazing boards are handcrafted from 100% recycled wine barrels in the Barossa Valley, SA.
One design sold = one tree planted.
Shop 10% off with code: BOARDCARE